So hey everyone, it’s been a while since we updated but here
I am! Just wanted to say
THANKX FOR 1000+ VIEWS ON OUR HUMBLE BLOG!!!
As an appreciation gift for the views, I've decided to do a
Soft (baby coloured) Gradient Nail Tutorial!
Level of Difficulty: Medium.
Number of Steps: 9 (optional 10)
Level of Difficulty: Medium.
Number of Steps: 9 (optional 10)
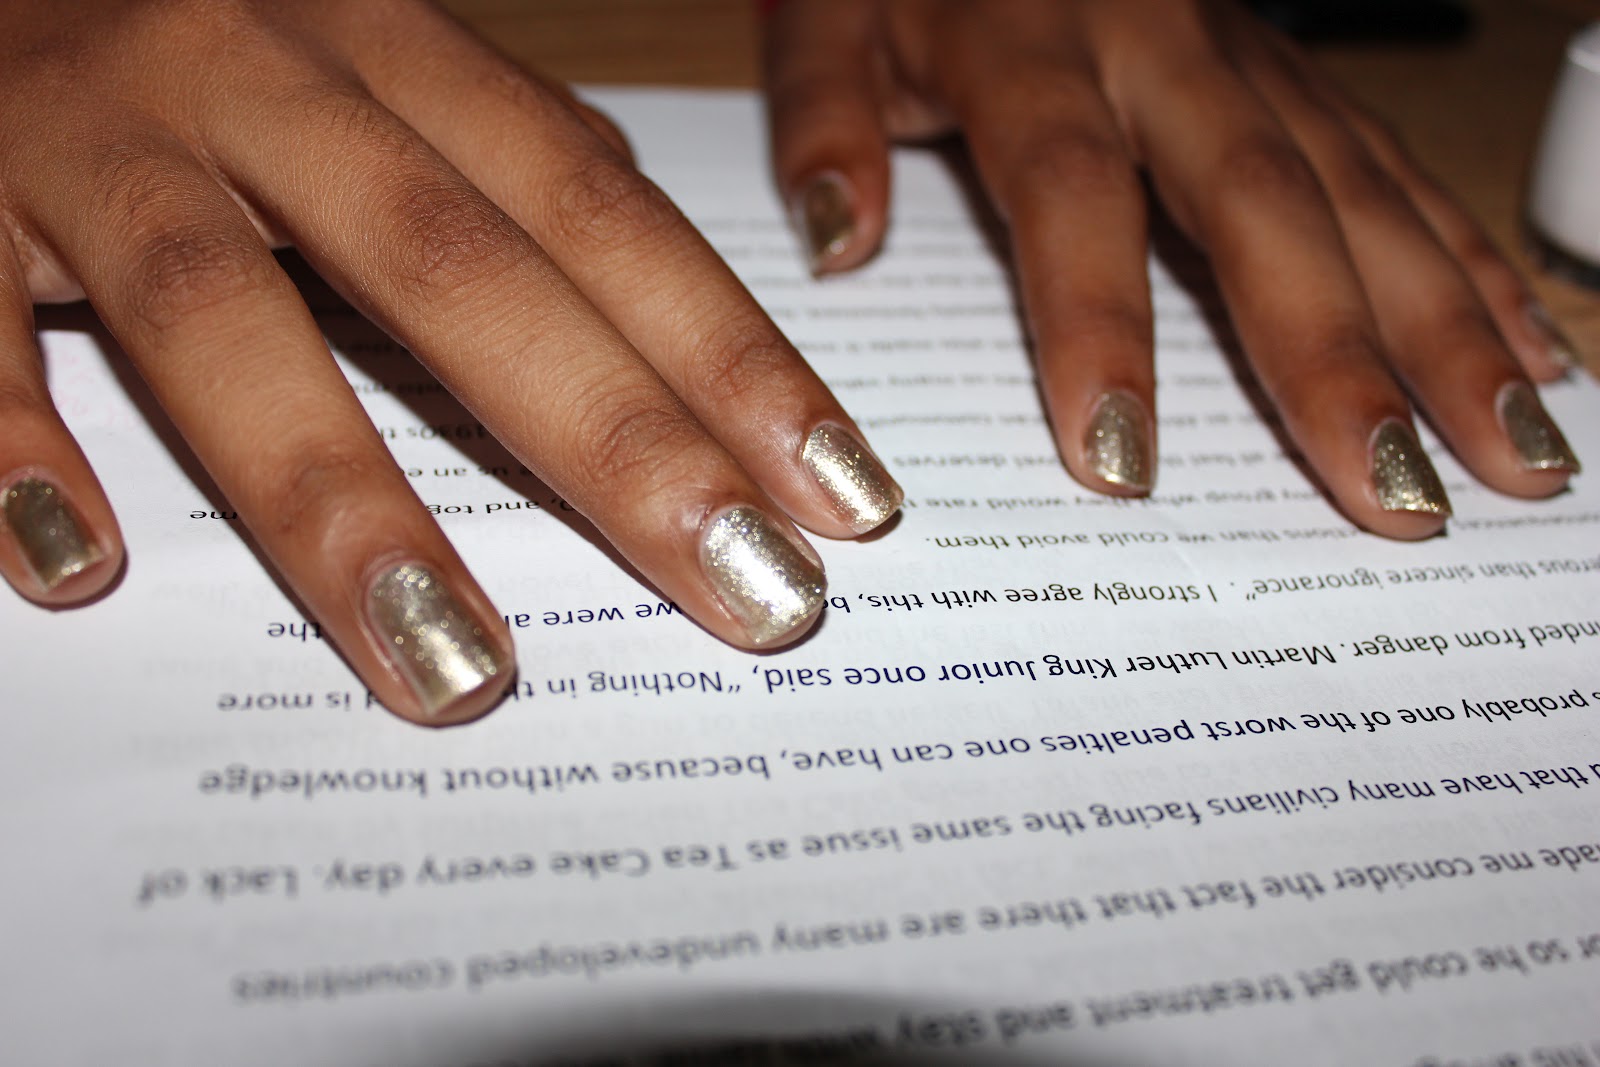
They look like this (even though it might not be very
visible with the bad lighting DX):

Experiment with your own colours too and enjoy :D
Now Proceed:
Let’s Start:
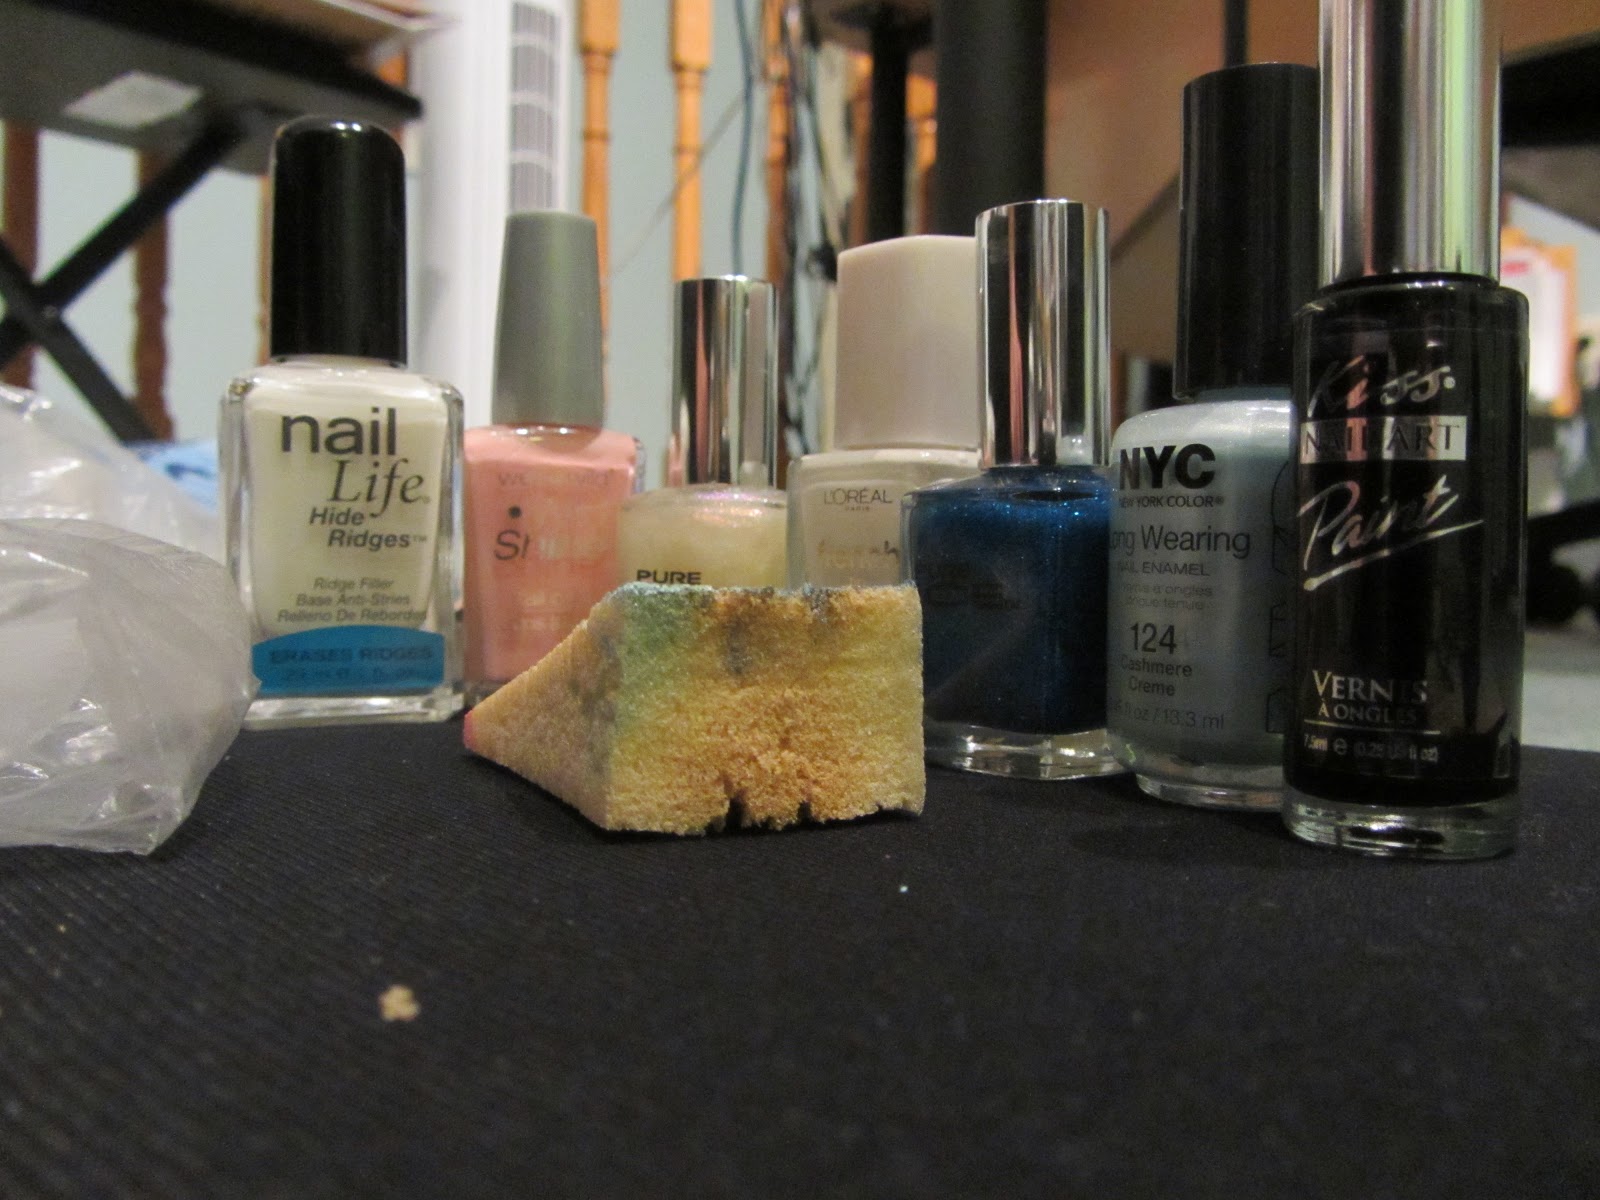 Materials:
-
plastic
bag* (since I couldn't find a plate to put the nail polish on)
-
Base Coat:
Nail Life, Hide Ridges, ridge
filler
-
Light
pink nail polish: Wet n Wild, Wild Shine, Tickled Pink
-
Clear
sparkly nail polish: Pure Ice, Oh
baby
-
White
Nail polish: L'Oreal,
French tip manicure, French Tip White 130
-
Clear
Blue Sparkles nail polish: Pure Ice, Strapless
-
Baby Blue
Nail Polish: NYC Long Wearing, Cashmere Creme
- Top Coat: Sally Hansen, No Chip, Acrylic Top Coat
- Top Coat: Sally Hansen, No Chip, Acrylic Top Coat
-
(optional) black
nail polish: Kiss Nail art Paint: Black
-
Make up
Sponge
*I really like the plastic bag option because you can wash
the nail polish off and keep reusing the bag for nail polish.
Brief Explanation:
à
In bold is the general materials, non bolded are the ones I used
à
Underline is the brand I used
à
Italic is the name of the colour I used
Steps:
1. Start
with the base coat

2. After
it dries, put on a white nail polish. I used the L’Oreal French tip
Manucure … which I soon realized was not really appropriate for filling
the whole nail >__>
 |
| It's Messy ... |
 3. Using
the dark blue sparkle nail polish, place a dab on the plastic bag or your
mixing plate (?). Using the make up sponge, dip the flat part into the
polish and dab ¼ to ½ of the nail.
3. Using
the dark blue sparkle nail polish, place a dab on the plastic bag or your
mixing plate (?). Using the make up sponge, dip the flat part into the
polish and dab ¼ to ½ of the nail. |
5. Place
the pink nail polish onto the mixing plate and dip the sponge into the
polish.
Use the thin tip of the make up sponge for precision.
Keep that in mind and emphasize
on the edge of the nail then work your way down to fill the rest. It should
look like the pink fades first and then makes it’s way to the edge with more
colour.
 |
| The pink is a little hard to see, Sorry!! |
6. Once
it dries, use the clear sparkle nail polish and paint over the whole nail.
This makes it have a shiny effect.
7. Complete
the rest of your nails by repeating step 3 – 6 (You are now almost done!)
 |
| It's done, but i didn't clean it yet xD |
8. Apply a neat top coat over all the nails (which i do not have a picture of DX
9. This
nail design is a little messy, so step 8 is remove all the excess nail
polish.
Now
You’re Done! :D (Step 10 is optional)
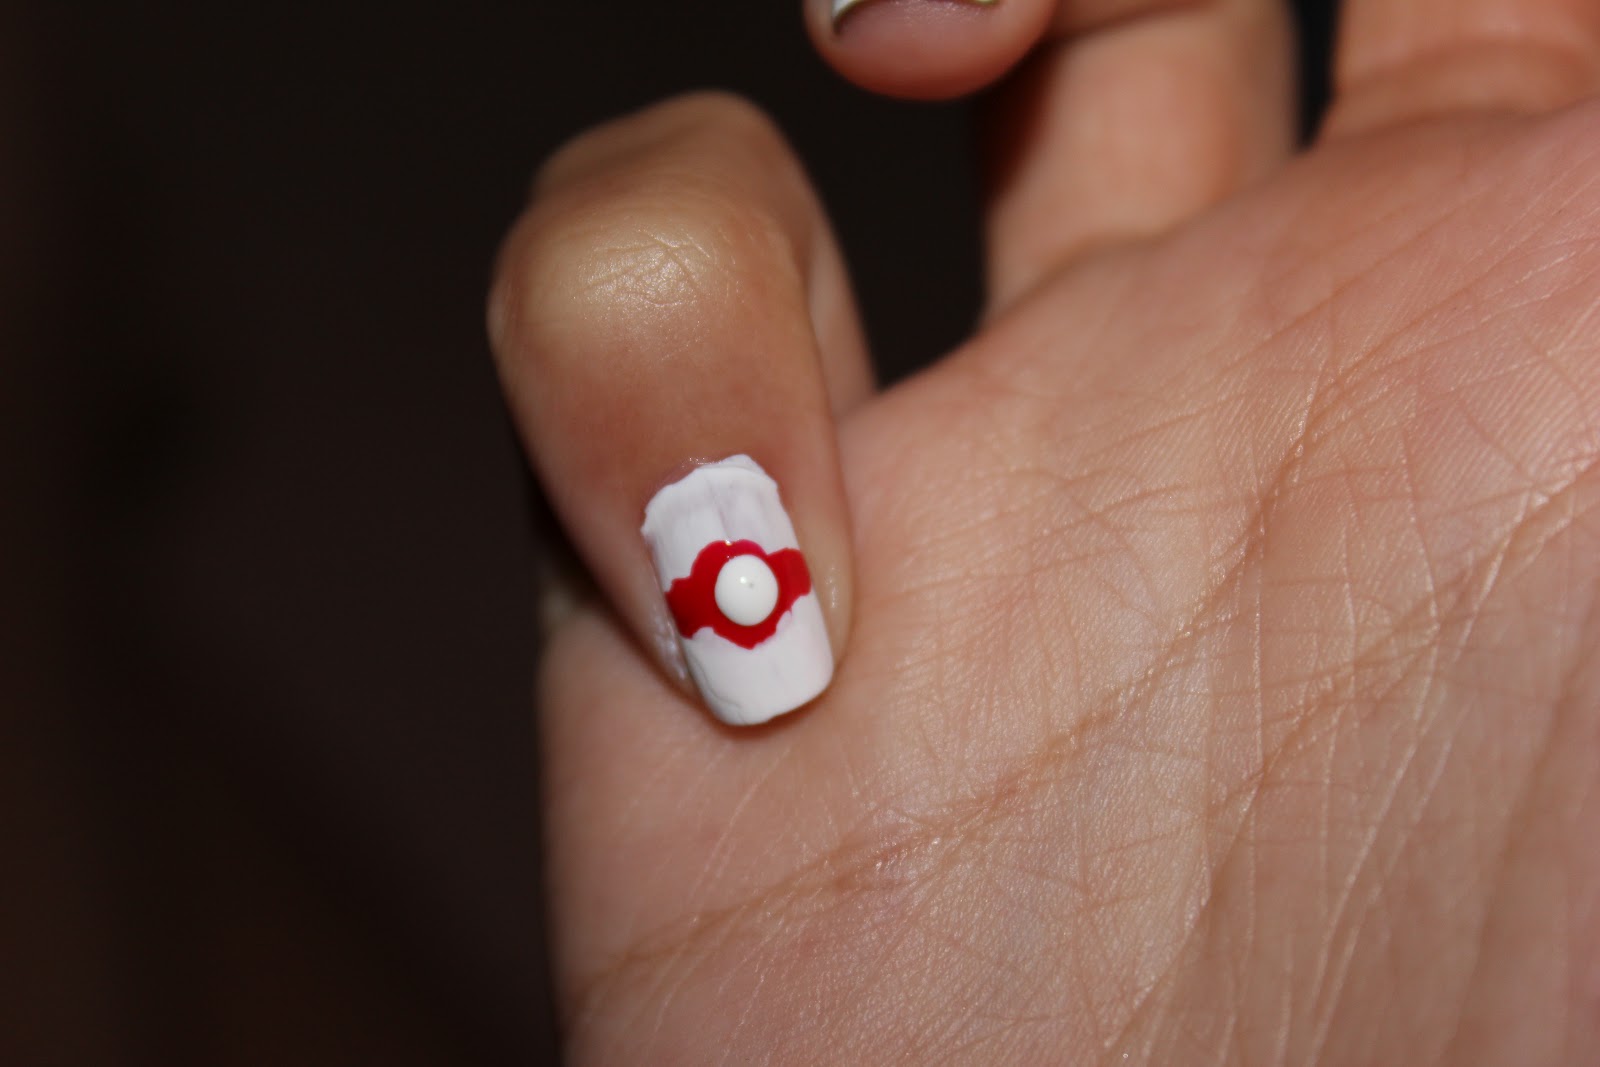
10. Use
the black nail polish. Starting at the bottom (a little right off the
center) make one dot. A fair dot; then make four more all smaller than the
previous one. Do the same on the top part of the nail except it starts at
the left (a little off the center) top of the nail. (It might be a little
complicated in explanation but the picture should help explain it better)
 |
| ARGHHH!!! I CAN'T ROTATE IT!! Sorry -.-" |
 So the nail tutorial is now
officially done, tell me what you think. I hope you enjoyed it and you should try it on your own :D
Experiment with different colours and if you happen to try this out, upload the
photo of your own in the comment box below or send us a picture at:
So the nail tutorial is now
officially done, tell me what you think. I hope you enjoyed it and you should try it on your own :D
Experiment with different colours and if you happen to try this out, upload the
photo of your own in the comment box below or send us a picture at:
oldtoboldfashion@gmail.com
Happy December 1st Everyone! :D
P.S. Sorry I don't have any pictures of the bag use .. I'm running out of internet (today is the 9th day after the bill and I've used half of my internet already xD) therefore, since blogger needs me to upload the photos, it drains my internet ... in turn, I limited my picture posts to only 10 or so.
Sorry for any inconvenience!